Croton Plant Care: 7 Powerful Secrets for Vibrant, Healthy Leaves
Why Croton Plant Care Is Essential for Vibrant, Healthy Leaves
If you’re a plant lover, you’ve likely encountered the dazzling beauty of croton plants. With their bold, multicolored leaves and striking patterns, crotons add a splash of vibrant greenery to any space. However, keeping your croton looking its best isn’t always as simple as watering it now and then. In fact, without the right care, these stunning plants can quickly lose their luster, leaving you frustrated and disheartened.
Proper croton plant care is the secret to unlocking those lush, vibrant leaves that make crotons so irresistible. Whether you’re tending to a small potted croton or nurturing a towering croton tree, understanding how to care for crotons properly can make all the difference. In this guide, we’ll reveal 7 essential croton care secrets that will keep your plant healthy, colorful, and thriving. From perfect lighting conditions to precise watering techniques, you’ll learn everything you need to know to elevate your croton plant varieties to their fullest potential. Ready to transform your croton into a stunning masterpiece? Keep reading!
Table of Contents
Understanding Croton Plants: Tropical Beauties with Personality
What Are Crotons?
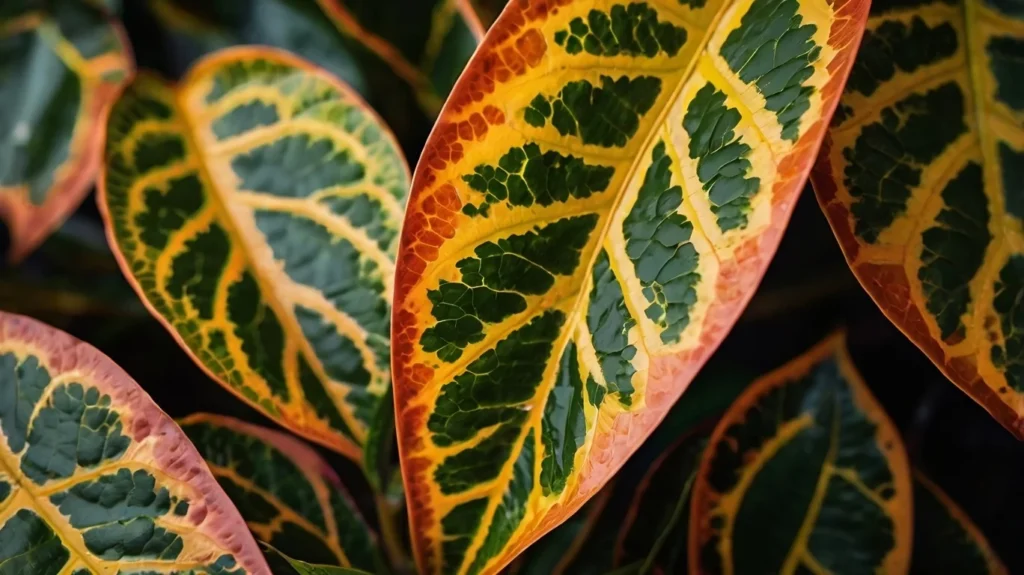
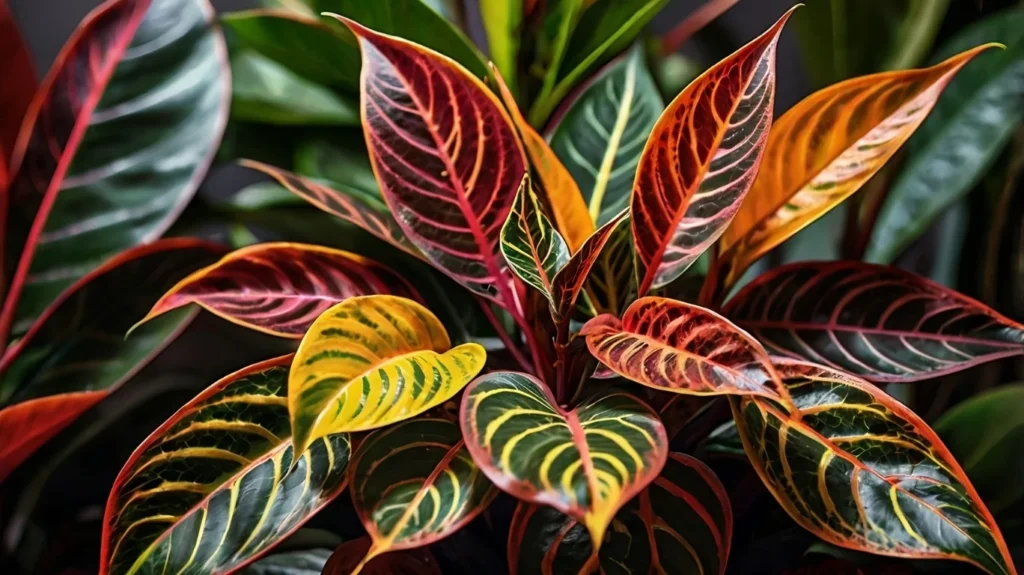
Crotons (Codiaeum variegatum) are tropical evergreen plants prized for their strikingly colorful foliage. Native to Southeast Asia and the Pacific Islands, these plants thrive in warm, humid climates. What sets crotons apart is their vibrant leaves, which can display shades of red, orange, yellow, and green—sometimes all at once! Their thick, leathery texture helps retain moisture, making them relatively hardy. However, crotons can be a bit fussy when it comes to environmental changes. They are known to drop leaves when stressed, making consistent care essential. Despite their high-maintenance reputation, they reward attentive gardeners with lush, dazzling foliage that instantly elevates any space.
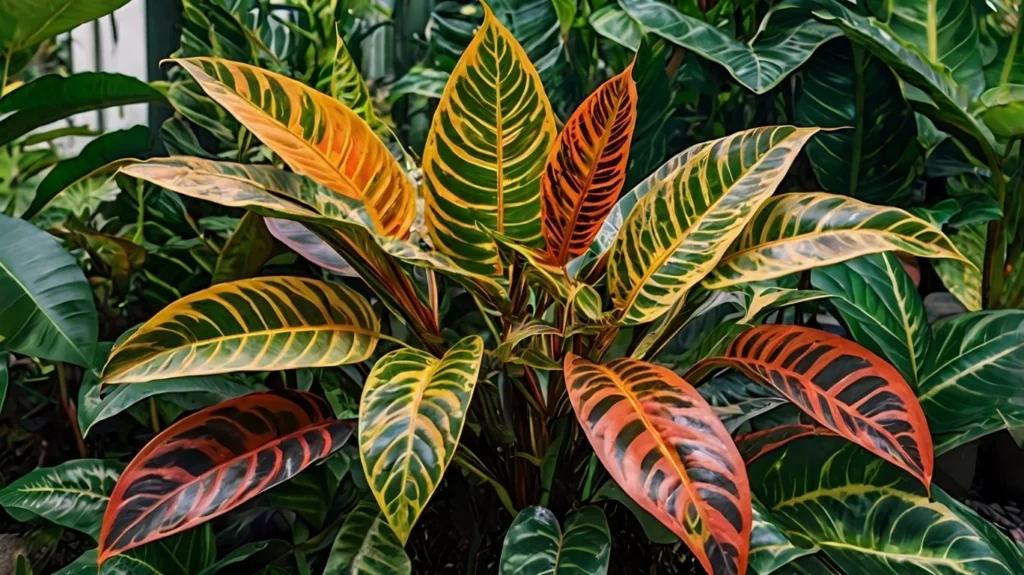
Popular Croton Plant Varieties:
Crotons come in a dazzling array of varieties, each with unique leaf shapes and color patterns. Some of the most popular types include:
- Petra Croton – Known for its broad, veined leaves in shades of red, yellow, and green.
- Mammy Croton – Features curly, twisted leaves with intense reds and oranges.
- Gold Dust Croton – Displays green leaves speckled with golden spots, resembling a paint splatter.
- Zanzibar Croton – Has thin, elongated leaves in a mix of deep red, orange, and purple.
- Banana Croton – is a vibrant croton variety with narrow, yellow-green leaves, adding a tropical touch to any space.
- Eleanor Roosevelt Croton – Recognized by its slender, yellow-speckled leaves.
Each variety brings a unique tropical flair to homes and gardens, making crotons highly desirable for plant enthusiasts.
Crotons vs. Other Indoor Plants:
Unlike common houseplants like pothos or snake plants, crotons require specific care to maintain their vibrant colors. Their tropical origins make them more sensitive to temperature fluctuations, humidity levels, and light conditions. Unlike low-maintenance succulents, crotons demand regular watering, indirect sunlight, and occasional misting to stay healthy. They also have a reputation for being dramatic—even slight changes in their environment can cause them to drop leaves. However, with proper croton plant care, they can thrive and become the focal point of any indoor space. Their unmatched color variety and bold personality make them a standout choice for plant lovers willing to give them a little extra attention.
Secret #1: Perfecting Light Conditions for Your Croton
Why Light Is Crucial for Crotons:
Light is the lifeblood of crotons, directly influencing their vibrant colors and overall growth. These plants contain pigments like chlorophyll, carotenoids, and anthocyanins, which respond to light intensity. When exposed to the right amount of sunlight, croton leaves display brighter reds, yellows, and oranges. In low light, however, their striking hues fade, leaving behind dull green foliage. Additionally, insufficient light slows growth, making crotons look sparse. On the other hand, excessive direct sunlight can scorch their leaves, causing brown edges or sunburn spots. Striking the perfect light balance is key to keeping your croton healthy and colorful.
Best Lighting for Croton Plants (Indirect vs. Direct):
Crotons thrive in bright, indirect light. The ideal setup is near a sunny window with filtered light, such as through sheer curtains. Direct sunlight for a few hours in the morning is beneficial, but prolonged exposure in harsh afternoon sun can cause leaf damage. If growing outdoors, place crotons in a partially shaded spot to protect them from extreme heat. Indoors, an east- or west-facing window is perfect, ensuring they receive ample diffused sunlight without getting scorched. If natural light is insufficient, supplement with grow lights to maintain their striking colors.
Signs of Too Much or Too Little Light:
Crotons will tell you if they’re receiving too much or too little light:
- Too much light: Leaves turn crispy, develop brown patches, or start curling.
- Too little light: Foliage loses its bright colors, appearing dull or mostly green.
- Uneven light exposure: Leaves leaning toward the light source, signaling they need to be rotated regularly.
Observing these signs helps adjust their placement for optimal growth.
Indoor vs. Outdoor Light for Crotons:
Indoor crotons need consistent bright light but should be shielded from direct midday sun. Outdoor crotons, on the other hand, benefit from morning sunlight and partial shade in the afternoon. If transitioning an indoor croton outdoors, do so gradually over 7-10 days to prevent shock and leaf drop.
Adjusting Light Based on Growth Stage:
Young crotons require more indirect light to establish strong roots, while mature plants tolerate more sunlight to maintain bold hues. If you notice new leaves emerging solid green, gradually move the plant to a brighter spot to encourage variegation. Adjusting their light exposure ensures your croton remains lush and radiant at every stage of growth.
Secret #2: Mastering Watering Techniques for Healthy Leaves
Watering Schedule for Crotons:
Crotons need a consistent watering schedule to maintain their lush foliage. On average, they should be watered once every 3–7 days, depending on temperature and humidity. The best rule of thumb is to check the top inch of soil—if it feels dry, it’s time to water. Overwatering leads to root rot, while underwatering causes wilting and leaf drop. Using room-temperature, filtered water prevents shock, especially in sensitive croton plant varieties. Keeping a steady watering routine helps crotons retain their vibrant colors and healthy leaves.
How to Prevent Overwatering and Underwatering:
Recognizing the signs of overwatering and underwatering is crucial for proper croton tree care:
- Overwatered croton: Yellowing leaves, mushy stems, and a soggy soil surface.
- Underwatered croton: Wilting, dry leaf edges, and drooping foliage.
To avoid these issues:
- Always check soil moisture before watering.
- Use a moisture meter or insert your finger into the soil.
- Ensure excess water drains freely from the pot to prevent stagnation.
Watering During Different Seasons:
Croton plant care changes with the seasons:
- Spring & Summer: Crotons grow actively and need frequent watering (every 3–5 days).
- During Fall & Winter: growth slows down, so reduce watering to (every 7–10 days)
- High Humidity: Reduce watering, as crotons absorb moisture from the air.
- Low Humidity: Increase watering slightly and mist leaves to prevent drying.
The Importance of Well-Draining Soil:
Using the right soil is essential for proper water absorption. Crotons thrive in well-draining, aerated soil that retains moisture but doesn’t stay soggy. A mix of potting soil, perlite, and peat moss ensures healthy root development. If water pools on the surface, repot with a better-draining mix to prevent fungal infections. Choosing the right soil keeps your croton’s roots healthy and thriving.
Secret #3: Creating the Ideal Temperature and Humidity for Crotons
Temperature Ranges for Healthy Growth:
Crotons are tropical plants that thrive in warm temperatures, ideally between 65°F and 80°F (18°C–27°C). When exposed to cold drafts or temperatures below 50°F (10°C), they become stressed, leading to leaf drop and discoloration. Keep crotons away from air conditioners, open windows, and cold breezes. If growing outdoors, bring them inside before the weather drops. Consistency is key—sudden temperature fluctuations weaken their immunity and make them vulnerable to pests.
How Humidity Affects Croton Growth:
Croton plants love humidity, mimicking their natural rainforest habitat. Low humidity levels cause crispy leaves, curling, and dull colors, while proper moisture levels keep foliage lush and vibrant. Aim for at least 40%–60% humidity to support healthy croton growth. If indoor air is dry, mist the leaves, use a humidity tray, or place your croton near other plants to create a microclimate.
Using a Humidifier for Croton Plant Care:
A humidifier is the most effective way to maintain optimal moisture levels. Placing one near your crotons ensures consistent humidity, preventing leaf stress. Look for a cool-mist humidifier, as it mimics the natural environment without overheating the plant.
Seasonal Temperature Changes and Their Impact:
Crotons are sensitive to seasonal shifts:
- Winter: Keep them away from heaters and ensure temperatures stay above 60°F (15°C).
- Summer: Protect them from direct heat waves, which can scorch leaves.
- Fall/Spring: Gradually adjust their placement if moving them between indoors and outdoors.
Maintaining stable temperature and humidity keeps crotons healthy, colorful, and resilient year-round.
Secret #4: Fertilizing Your Croton for Maximum Growth
Best Fertilizers for Crotons:
Crotons are heavy feeders that thrive on balanced, slow-release fertilizers. A 10-10-10 or 20-20-20 fertilizer provides the essential nitrogen, phosphorus, and potassium for vibrant growth. Liquid fertilizers work well for quick nutrient absorption, while granular and slow-release fertilizers offer long-lasting nourishment. Organic options like compost tea, worm castings, or fish emulsion enhance soil health and promote steady growth without chemical buildup.
When and How Often to Fertilize:
To keep your croton healthy, fertilize every 4 to 6 weeks during the growing season (spring and summer). Reduce feeding in fall and avoid fertilizing in winter when the plant enters dormancy. For best results:
- To avoid root burn, dilute liquid fertilizers to half their recommended strength.
- Apply fertilizer after watering to avoid shocking the roots.
- Use slow-release fertilizers every 3–4 months for steady nutrient absorption.
Over-Fertilization: How to Avoid It:
Excess fertilizer leads to salt buildup, causing yellowing leaves, root burn, and stunted growth. Signs of over-fertilization include crispy leaf edges and white crust on the soil surface. To prevent this:
- Flush the soil every few months by watering deeply to remove excess salts.
- Use fertilizer sparingly—less is more when it comes to croton plant care.
Organic vs. Chemical Fertilizers for Crotons:
Organic fertilizers improve soil structure, encourage microbial activity, and provide a slow, steady nutrient release. Chemical fertilizers, on the other hand, deliver quick results but can lead to nutrient imbalances over time. If using chemical fertilizers, opt for a balanced, water-soluble formula and apply sparingly.
Signs Your Croton Needs More Fertilizer:
A croton lacking nutrients will show slow growth, faded colors, and smaller leaves. If your plant appears pale or lacks vibrancy, it might need a nutrient boost. Yellowing older leaves can also indicate a nitrogen deficiency. Always assess your croton’s health before adjusting its feeding routine.
Secret #5: Pruning and Shaping Your Croton for Healthy Growth
Why Pruning Is Key to Vibrant Crotons:
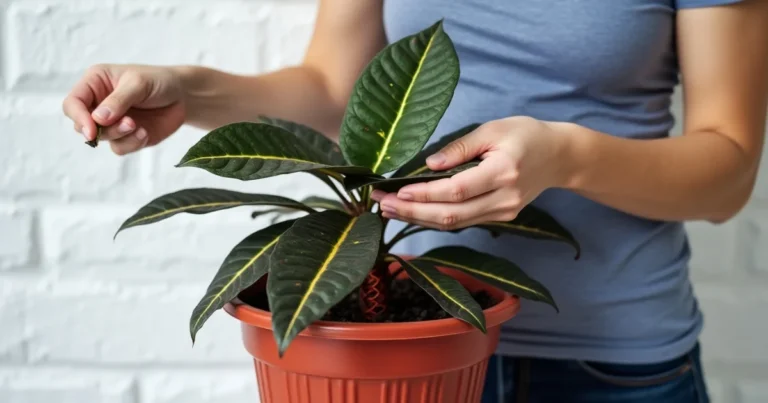
Pruning is essential for maintaining a healthy, bushy croton. By removing leggy growth and dead leaves, you encourage new shoots and enhance the plant’s vibrant foliage. Regular trimming also improves air circulation, reducing the risk of pests and fungal infections. Without pruning, crotons may become thin, uneven, or overgrown, leading to a weaker structure.
How to Prune Your Croton Plant Care:
Follow these steps to prune your croton effectively:
- Use sterilized pruning shears to prevent infections.
- Identify leggy stems, damaged leaves, or excessive growth.
- Cut just above a leaf node to encourage new branching.
- Remove no more than one-third of the plant at a time to avoid stress.
- Dispose of diseased leaves and use cuttings for propagation.
Best Time of Year to Prune Crotons:
The ideal time to prune crotons is late winter or early spring, just before the growing season. Avoid heavy pruning in fall and winter, as the plant enters dormancy and won’t recover as quickly. Light trimming can be done year-round to remove damaged or yellowing leaves.
Shaping Your Croton for Better Aesthetics:
Strategic pruning allows you to shape your croton into a compact, bushy, or tree-like form. Trim the top growth for a fuller look or remove lower leaves for a taller, tree-like structure. Regular pinching of new growth tips encourages denser foliage. This technique ensures your croton remains symmetrical and visually appealing in your home or garden.
Secret #6: Dealing with Common Croton Plant Problems
How to Identify and Treat Pests:
Crotons are susceptible to spider mites, scale insects, and mealybugs, which can weaken the plant by sucking sap from the leaves. Look for webbing, sticky residue (honeydew), or tiny moving specks on the foliage.
- Treatment: Wipe leaves with neem oil, insecticidal soap, or a mixture of water and dish soap.
- Prevention: Keep humidity levels high and inspect new plants before introducing them indoors.
Fixing Common Leaf Problems:
Croton leaves can turn yellow, brown, or develop spots due to improper watering, low humidity, or temperature fluctuations.
- Yellow leaves: Often caused by overwatering or poor drainage. Let the soil dry between watering.
- Brown edges: Usually due to low humidity; mist the plant or use a humidifier.
- Drooping leaves: Could indicate underwatering or root rot. Check soil moisture before adjusting watering.
Preventing Leaf Drop in Crotons:
Croton leaf drop is common when the plant is stressed by changes in light, humidity, or watering habits.
- Avoid moving the plant frequently.
- Maintain consistent watering and humidity levels.
- If leaves drop suddenly, inspect for pests, temperature stress, or drafts.
Croton Plant Care Diseases and How to Prevent Them:
Fungal infections like root rot and powdery mildew can harm crotons if the plant is overwatered or kept in damp conditions.
- Root rot: Prevent by using well-draining soil and avoiding waterlogged conditions.
- Powdery mildew: Ensure good airflow around the plant and avoid overhead watering.
Regularly checking your croton for issues will help keep it healthy and vibrant.
Secret #7: Repotting Your Croton for Long-Term Health
Why Repotting Is Essential:
Over time, crotons outgrow their pots, leading to root crowding and poor nutrient absorption. Repotting prevents stunted growth, root rot, and compacted soil, ensuring healthy, vibrant foliage. Fresh soil replenishes essential nutrients, while a larger pot provides space for stronger root development. Ideally, you should repot your croton every 1-2 years to maintain its lush appearance.
When to Repot Your Croton:
Signs your croton needs repotting include roots emerging from drainage holes, slow growth, or soil drying too quickly. The best time to repot is spring or early summer, when the plant is actively growing. Avoid repotting in winter, as crotons enter a dormant phase and may struggle to adjust.
How to Prevent Transplant Shock:
To minimize stress, water your croton a day before repotting. Gently remove the plant, avoiding root damage, and place it in fresh, well-draining soil. After repotting, keep it in a shaded area for a few days and mist the leaves to maintain humidity. Avoid fertilizing for 2-3 weeks to let roots settle.
Choosing the Right Pot for Your Croton:
Pick a pot that’s 1-2 inches larger than the current one, with drainage holes to prevent water buildup. Terracotta pots help wick away excess moisture, reducing the risk of root rot. Avoid oversized pots, as they hold too much water, increasing the likelihood of fungal diseases.
FAQ:
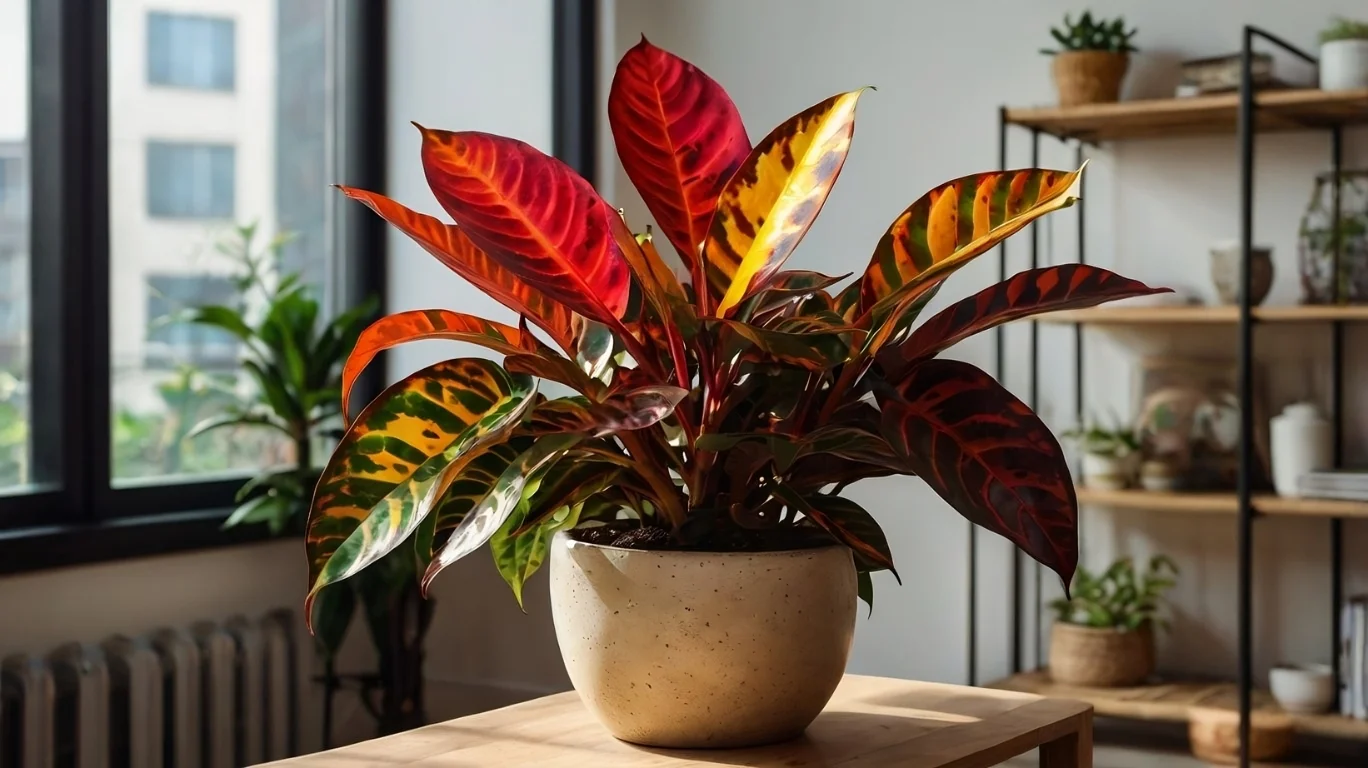
How to Care for a Croton Plant Indoors?
Caring for a croton indoors requires bright, indirect light, consistent watering, and high humidity. Place your croton near a south- or east-facing window to maintain its vibrant colors. Water when the top 1-2 inches of soil feel dry, using well-draining soil to prevent root rot. Keep humidity levels above 50% by misting or using a humidifier. Maintain temperatures between 60-80°F (16-27°C) and fertilize every 4-6 weeks during the growing season.
Do Crotons Require a Lot of Maintenance?
Crotons need moderate care but aren’t overly demanding. They thrive when provided with consistent light, watering, and humidity levels. Regular pruning, fertilizing, and pest control ensure healthy growth. While they can be sensitive to environmental changes, once established, they adapt well and require only occasional maintenance.
How to Make Croton Colorful?
To enhance croton colors, ensure it receives 6-8 hours of bright, indirect sunlight daily. Lack of light causes dull, green leaves. Use a balanced liquid fertilizer every 4-6 weeks in the growing season to promote pigmentation. Maintaining humidity above 50% and avoiding overwatering also helps prevent stress, keeping leaves vivid.
Where Do Crotons Grow Best?
Crotons thrive in warm, humid environments with bright, indirect sunlight. Outdoors, they grow best in USDA zones 9-11, where temperatures stay above 50°F (10°C) year-round. Indoors, they prefer east- or south-facing windows with steady warmth and humidity. Avoid placing crotons in drafty areas or near air conditioning vents, as sudden temperature changes can cause leaf drop.
Conclusion: Your Croton Plant Care Journey Awaits!
Taking care of a croton plant is a rewarding journey that allows you to enjoy its vibrant, colorful foliage with a little attention to light, water, humidity, temperature, and pruning. By mastering these key aspects of croton plant care, you can ensure your plant remains healthy and beautiful for years to come. Whether you’re perfecting light conditions, fine-tuning your watering schedule, or tackling common pests, these steps will help your croton thrive.
Are you ready to transform your space with a stunning croton? Start implementing these tips today and watch your plant flourish! Remember, healthy crotons are just a few adjustments away. If you have any questions or want to share your croton care success story, leave a comment below or connect with us on social media. We’d love to hear how your plant is doing and offer more personalized tips!
Happy planting!